Mastering Markings and Seam Sewing: A Journey in Dressmaking
Monday night's class marked a significant step forward in my dressmaking journey as I delved into sewing the cut calico pieces. But before I could dive into stitching, I had to meticulously mark out all the necessary indicators onto the calico fabric according to the pattern. In this session, I was introduced to two distinct marking techniques, each with its own merits and challenges.
The first technique, utilising pins and a fabric pencil or tailor's chalk, proved to be the simplest method. By inserting a pin through the center of the marking on the pattern, I flipped the fabric over and traced the marking onto the underside using the pin as a guide. With precision and patience, I replicated the pattern markings onto the calico, ensuring accuracy in every detail.
On the other hand, the second technique, known as a tailor's stitch, offered a more refined approach but demanded finesse and practice. This method involves creating small stitches along the marking, outlining it meticulously. While its results can be impeccable, I realized it would require time and dedication to master. Thus, for now, I opted to rely on the familiarity of the first technique.
With my markings placed on the fabric it was now time for me to start sewing.
As I eagerly began sewing, I encountered a minor hiccup—I inadvertently used overlocking thread, which resulted in an unsuccessful attempt at stitching. It wasn't until I replaced the thread that I achieved the desired outcome. However, my excitement led me to overlook a crucial detail in the instructions—I had sewn a single folded seam instead of a double folded one. Consequently, I had to unpick the entire seam and rectify my mistake.
Unpicking the seam I just sewed perfectly on the machine.
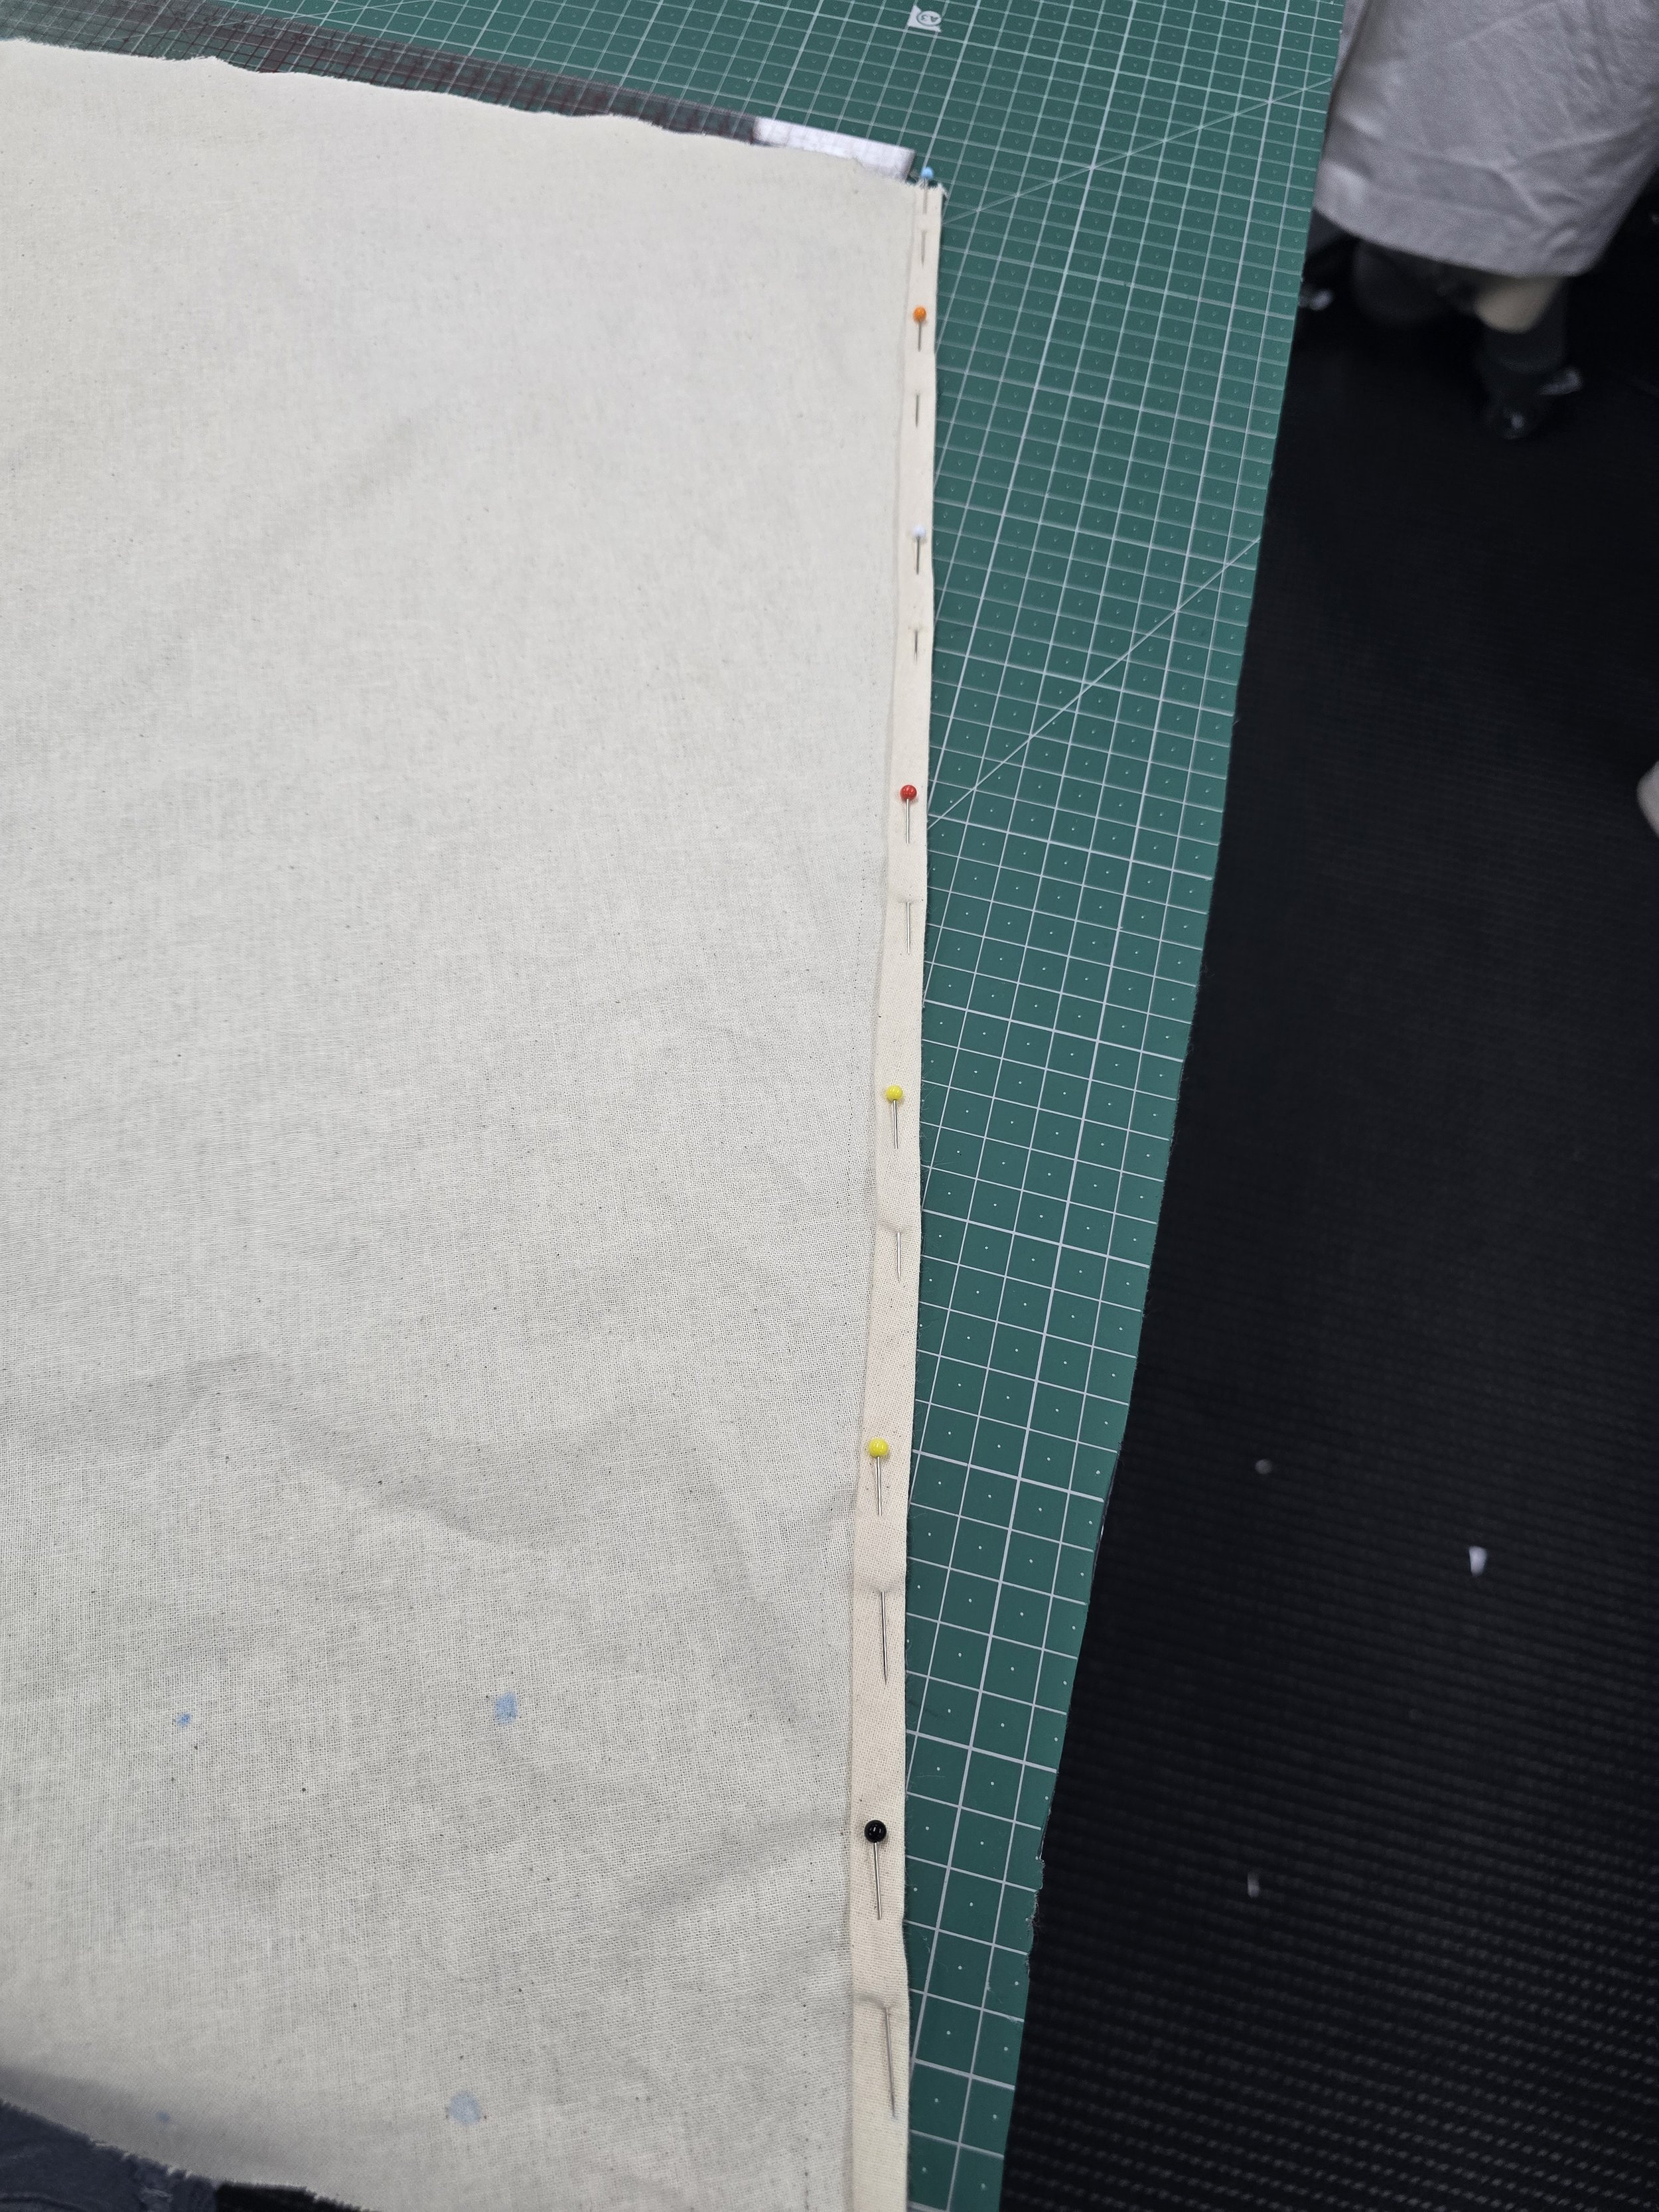
After correcting the seam, I meticulously folded and pinned it in place, following my teacher's advice to iron it flat. Surprisingly, the humidity of the evening and the warmth of my hands made ironing unnecessary, as the natural heat and moisture ensured a crisp finish. Natures iron at work.
Seam correctly pinned and ready to be sewn
With the seam flawlessly executed, I embarked on the next phase—creating pleats and sewing another seam on the skirt piece. Taking these tasks home, I resolved to stitch the pleats and pin the seam in preparation for the upcoming class, eager to continue honing my newfound skills.
Despite the challenges and learning curves, each step in this journey brings me closer to mastering the art of dressmaking. As I navigate through techniques and setbacks, I embrace the process wholeheartedly, knowing that every stitch brings me one step closer to creating garments of beauty and craftsmanship. Stay tuned for more updates on my dressmaking odyssey!


